Many people enjoy keeping orchids, but they often struggle with root and leaf rot when taking care of them at home. When this happens, they may not know the cause or how to fix it, leading to fear of growing orchids altogether. In reality, orchids are relatively easy to care for; it’s just that the home environment may not be suitable, or incorrect watering practices lead to root and leaf rot. If you discover root rot in your orchid, don’t panic. You can bring it back to health with four simple steps. Just follow the instructions carefully, and your orchid will soon thrive again.
Step 1: Remove the Soil and Expose the Roots
If the orchid leaves are largely rotting, it’s a clear sign that the roots are decayed. To address this, you need to remove all the soil to examine the root system. Make sure not to reuse this old soil for repotting, as orchids have a symbiotic relationship with mycorrhizal fungi in the soil, which are beneficial for their growth. However, once the roots start to rot, harmful fungi may outnumber the beneficial ones. Reusing the old soil would likely cause further root rot, so always use fresh soil when repotting.
Step 2: Trim and Sterilize
Once the roots are exposed, you’ll likely see the decayed parts. It’s crucial to trim these rotten sections thoroughly. To do this safely, use clean scissors or pruning shears. Ideally, sterilize the tools with alcohol or a suitable disinfectant before you start. When cutting, start from the rotten area and move upward until you reach healthy tissue. It’s better to trim slightly above the rot to ensure no decayed bits are left, reducing the risk of bacterial infection. If you cut too close to the rot, your tools could pick up bacteria, potentially causing re-infection. Make sure to discard all the trimmed pieces properly.
After cutting away all the rotten roots, prepare a fungicide solution, such as one made with thiabendazole or carbendazim, and dilute it in water according to the instructions on the package. Soak the trimmed orchid roots in the solution for at least 15 minutes. Once they’ve been soaked, remove the orchid from the solution and place it in a well-ventilated area to dry. This will allow the cut surfaces to dry and start the healing process, reducing the risk of re-infection when you repot the plant. It’s recommended to leave the roots to air-dry for about half a day before replanting the orchid in fresh soil.

Step 3: Repotting
After the cut surfaces on the roots have dried and no longer retain moisture, you can proceed with repotting the orchid. Be sure to use fresh soil; for best results, use a soil mix specifically designed for orchids. Before repotting, soak the orchid soil in a bucket of water for several hours to ensure it is well-moistened. Once soaked, drain the soil to remove excess water.
Fill the orchid pot with the prepared soil, then carefully place the orchid in the center. Ensure the roots are well-positioned and covered with the new soil, providing support for the orchid. After planting, thoroughly water the orchid to settle the soil, but do not add any fungicides to this first watering. You may use plain water or water with a rooting hormone. Water evenly by gently turning the pot as you water, ensuring all areas are covered. Once the repotting is complete, allow the orchid some time to adjust to its new environment, a process known as “establishment.”

Step 4: Recovery and Root Development
After treating the root rot and repotting the orchid, the next step is to promote recovery and stimulate new root growth. Place the orchid in a well-ventilated area, as poor airflow can cause soil to dry slowly, potentially leading to further rot. Good ventilation also helps prevent high humidity, which can exacerbate root problems.
Water the orchid only when the top 1–2 centimeters of the soil have dried out. Avoid using fertilizers at this stage, as they can stress the plant. You can add a bit of rooting hormone to the water to encourage root development. If the temperature is suitable, new roots may begin to sprout within about two weeks. Within a month, you might notice new leaves growing, indicating that the orchid is recovering.
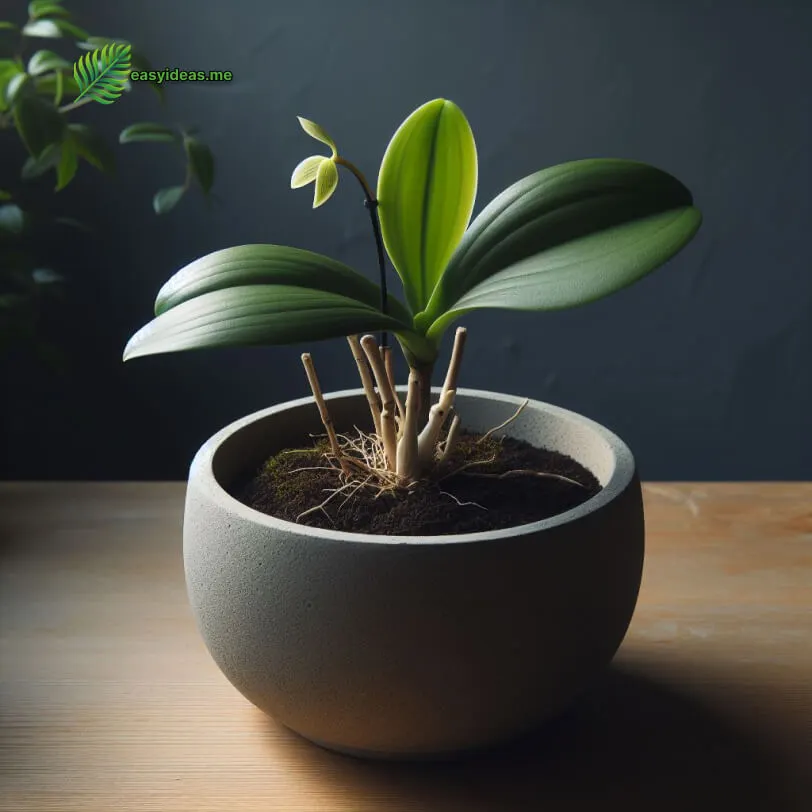
If the environment is well-ventilated, the recovery process will be more efficient. However, if ventilation is poor and humidity is too high, there’s a risk of further root rot. To ensure successful recovery, place the orchid near a source of airflow, like an open window or a fan, to speed up the process. Once the roots are healthy again, the orchid can be fully revived, growing with lush leaves and branches.
Some people might ask, “What if all my orchid roots have rotted?” Even if the entire root system is gone, there’s still hope. Trim away all the rotten roots, even if it leaves only the orchid’s base (the pseudobulb or rhizome). Wrap it in damp sphagnum moss, keeping the moss slightly moist. New roots can grow from the pseudobulb, and when they reach 2–3 centimeters in length or when there are at least two or three new roots, you can repot the orchid in fresh soil, allowing it to regrow and recover completely.
Read more: Do you know a detailed description of the 5 reasons causing orchid roots to rot?


